How to Build a Paddleboard in 10(ish) Steps

When Ray decided to give our daughter plans to make her own wooden paddleboard, we knew it was going to be a time commitment. But that was part of the charm—it was about the Daddy/daughter time just as much as it was about the board itself.
In the end, the project took several months to complete, and it was worth every minute. We documented the process so we could show you what went into it.
After the success of the 1st paddleboard, we are now making paddleboards for each of us. Here’s Ray and kids' 10(ish)-phase Journey of Paddleboard Creation.
Phase 1: Paddleboard Pre-construction
Wooden paddleboards are made of lots and lots (and lots) of long, thin wooden strips that are glued to a centre skeleton. This gives you the shape you want while keeping the board hollow, buoyant, and light.
The first step before construction even begins is to cut all those strips so that you have them on hand when you need them and can focus on putting them together. One step at a time.

Phase 2: Assemble the paddleboard skeleton
Ray cut out the shapes for the skeleton using a precision laser cutter. As you’ll see, the skeleton shapes are complex, and exact measurements are crucial.
The first real day of construction was spent putting the skeleton together. Ray used clamps to hold the centre piece upright and then he and the kids glued the cross pieces into position. We left the glue to dry overnight.

Phase 3: Glue the wooden strips to one side of the paddleboard
We took it slow when it came to attaching the strips to the skeleton, allowing the glue to dry in between each application. On Day 1 of this phase, we glued the first strip down the centre of the board.
When you see the words “glued the strip” it doesn’t seem like it would take a long time…but gluing a single strip of wood onto a paddleboard takes about 30 minutes. We worked outwards from the centre, gluing one strip on each side per day and using clamps and cords to hold the joints together while the glue dried.
On the 11th day, the first side was finally complete. We had to let that glue dry overnight, but we were thrilled at the prospect of moving forward (and of spending a day doing something other than gluing strips!)

Phase 4: Trim the first side of the paddleboard and flip it
The big job on the following day was to trim the strips on the board and flip it over. It was just a rough cut, but it was enough to make it look less like a sheet of glued strips and more like an actual paddleboard, which was exciting.

Then Ray dislodged the board from the table, flipped it over, and cut the feet which the skeleton had been resting on so that the bottom was evenly shaped and ready for…attaching more strips.
Phase 5: Finish gluing strips to the skeleton
Once the board was flipped and trimmed, we could begin the gluing process all over again on the other side. We started the same way: gluing the centre piece first. We clamped it and let it dry. Then we repeated the process, gluing 2 strips a day for 8 more days until all the strips had been glued.

Phase 6: Cut the shape of the board and prep for the next step
When the glue on the bottom strips was dry, Ray cut the rough shape of the board on that side as well. Then he and Noemi sanded the sides to make a smooth shape, ready for the next step.

Phase 7: Complete paddleboard assembly
The next day, we glued strips to the sides to connect the top and bottom pieces. Once the side strips were attached, we cut the front and back of paddleboard to the right shape and glued in the bow and stern blocks.

Phase 8: Smoothing and prepping the paddleboard
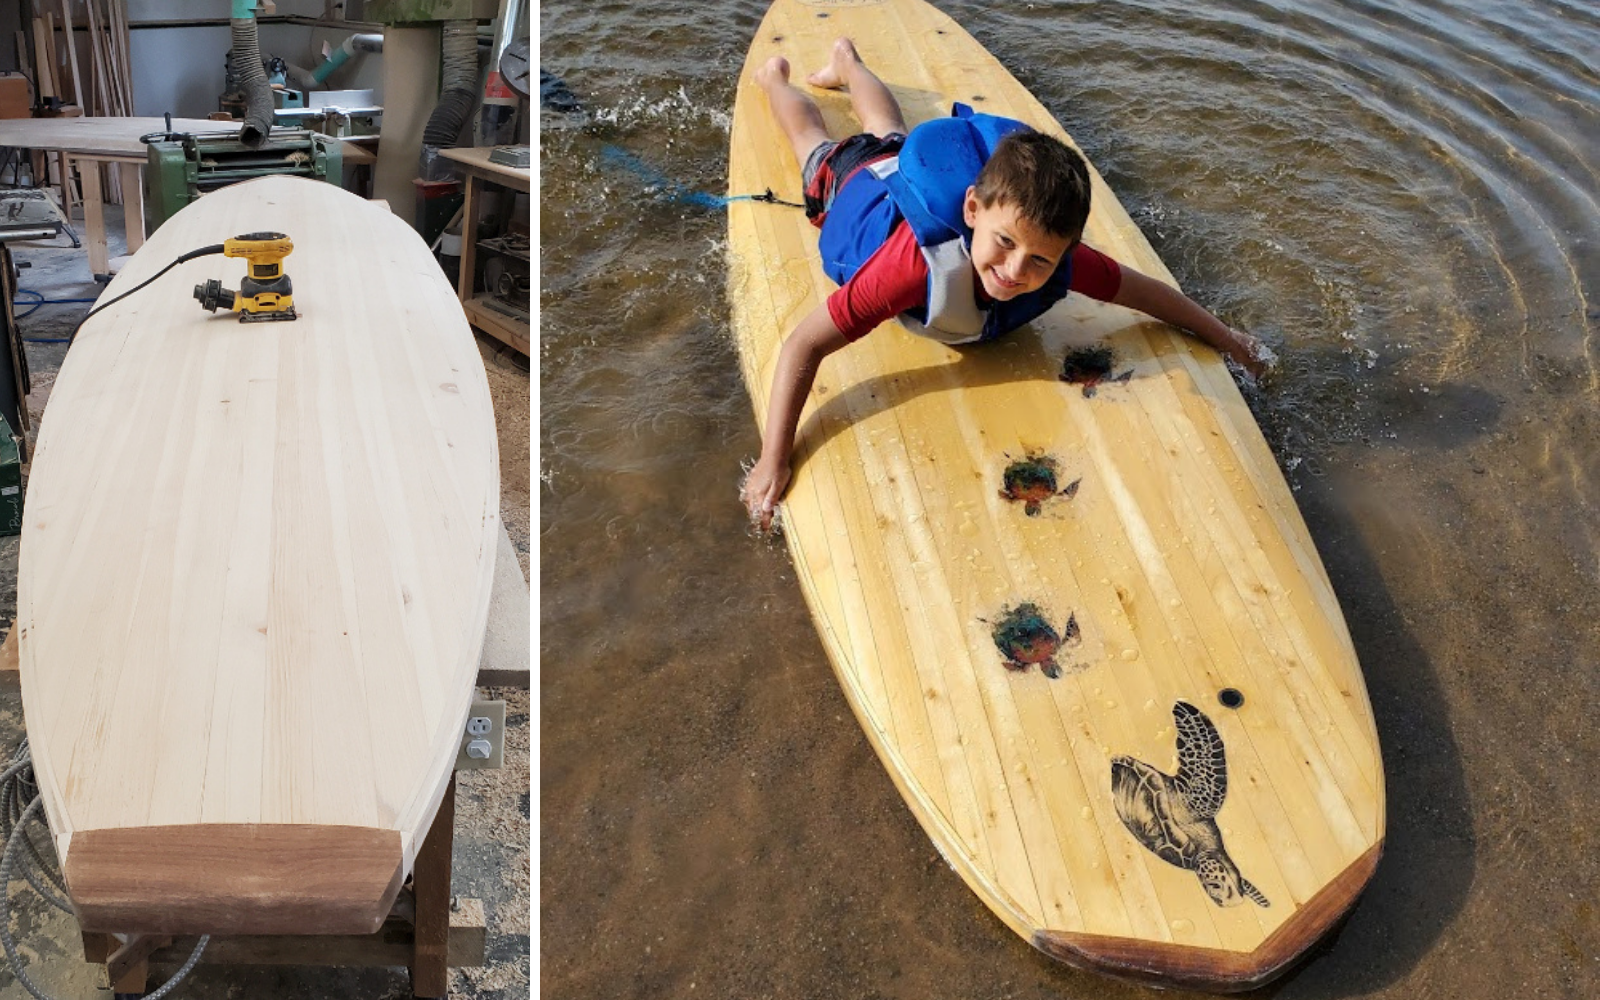
Phase 8 involved planing and sanding the top, bottom, and sides of the board to shape them properly and make them smooth. Ray started by roughing out the shape with the hand planer and then used a belt sander to even it out even more.

Finally, the kids used the orbital sander (which is lighter and easier to use) to create a smooth finish on the board and get it ready for the final touches.

Phase 9: Attachments and accessories
The next step was to drill holes for the attachments, air vents, and fin box. Then we glued the attachments in place. The actual assembly of the board was complete!

Phase 10: Waterproofing and final touches
Once all the attachments were glued in, Noemi and Ray could apply the fiberglass with epoxy to make it watertight.

Once waterproofing was finished, it was time for Noemi to choose graphics and text for her board. This was exciting because it would make the board truly hers. She took some time to choose, and finally decided on a school of sea turtles and a sign that says, “Made by Noemi and Daddy in 2021.”

The last step of construction was using belt and orbital sanders to smooth out any imperfections in the fiberglass epoxy and create the perfect smooth surface. The board was finally done!
Phase 11+: Enjoy your paddleboard!
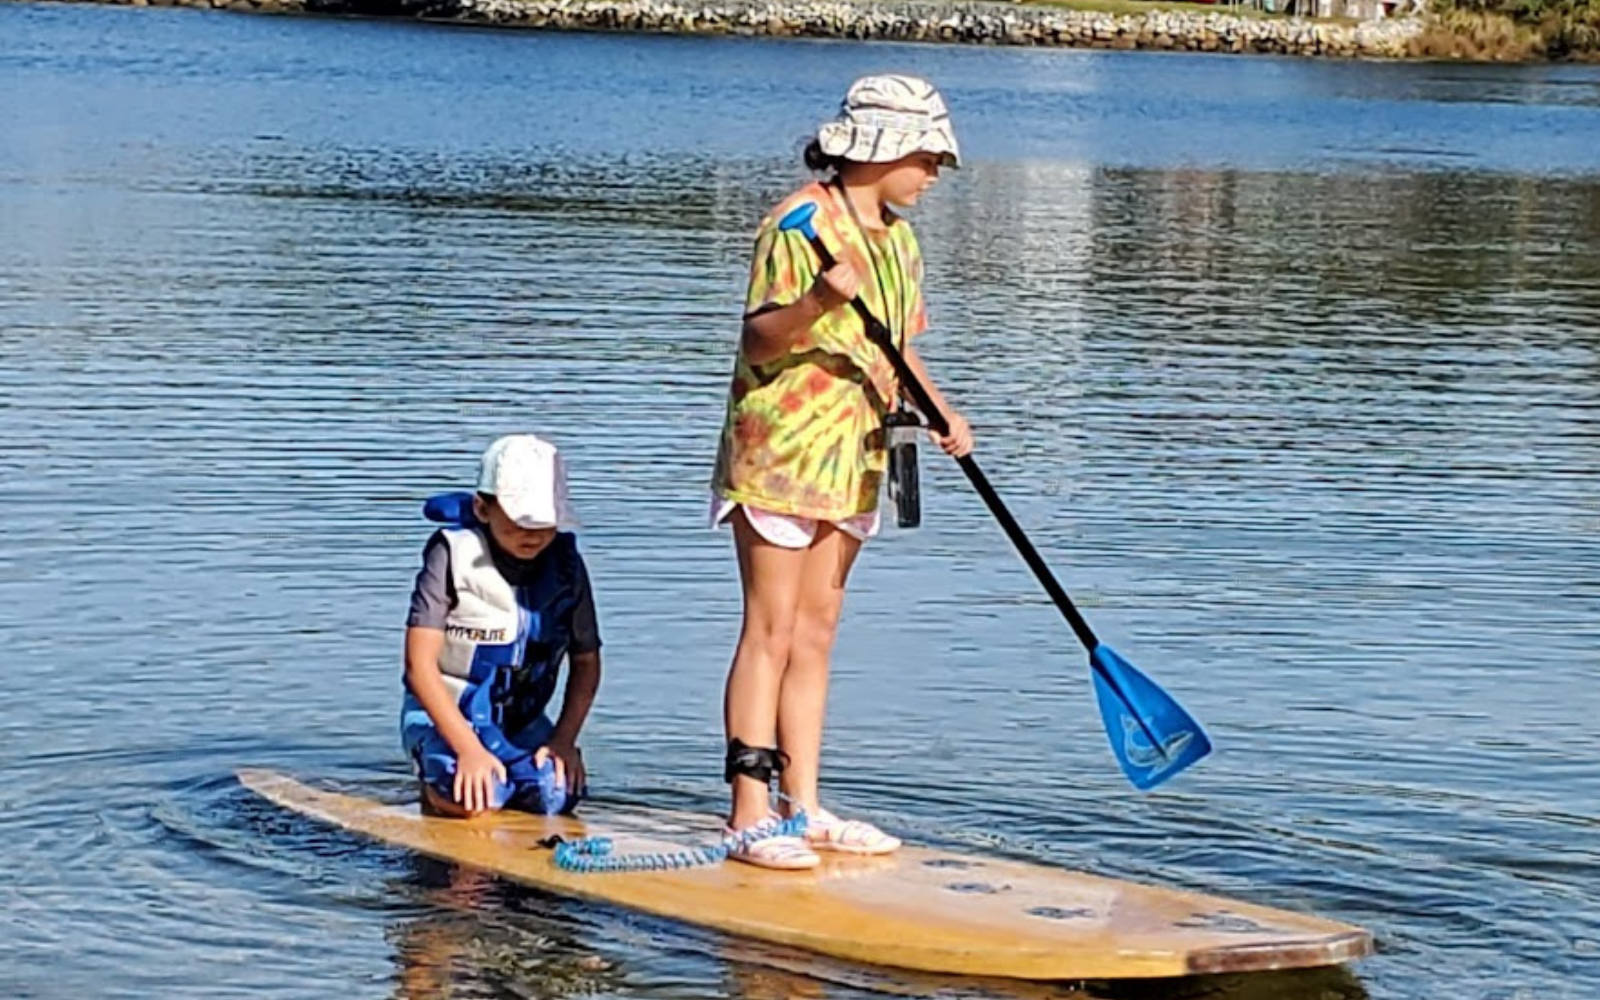
Noemi was so excited to try her board out! It worked perfectly and got a lot of compliments at the beach!

While the process of building a custom wooden paddleboard is complicated and time-consuming, it’s also satisfying. It’s wonderful to watch a board take shape day by day, put those finishing touches on it, and finally, finally use it. The rest of us are looking forward to using our own boards!
But that’s not all—we’re also opening orders for custom wooden paddleboards. These boards will be lovingly handmade by Ray and built to last a lifetime. If you’ve been looking for a premium handmade paddleboard that’s a joy to use and gets compliments everywhere, get in touch at ray@toymakeroflunenburg.ca. Or check the paddbleboard page here
We’d love to make one for you!
Leave a comment
Also in Posts

Sometimes the Best Christmas Presents are Ones You Make Yourself
Our family's best Christmas presents so far. In 2020, Ray bought Noemi plans to maker her own paddleboard from scratch. Father and daughter worked on the paddelboard for 8 months in 2021. Despite the length of the project, Noemi kept at it and enjoyed the 1-on-1 time with her dad. The final custom made padleboard has been a hit not only with our family and friends but also with passers-by who stop to admire it.
